Grafana 5.4
This documentation page describes the process of installation and configuration of Grafana using CentOS 7 as the base Operating System.
Contents
Directory Hierarchy
| Description | Path |
|---|---|
| Installs binary | /usr/sbin/grafana-server |
| init.d script | /etc/init.d/grafana-server |
| Default Configuration | /etc/sysconfig/grafana-server |
| Configuration file | /etc/grafana/grafana.ini |
| Default Log file | /var/log/grafana/grafana.log |
| Database definition | /var/lib/grafana/grafana.db |
| Systemd Service definition | /usr/lib/systemd/system/grafana-server.service |
Note
Default configuration specifies an sqlite3 database.
Note
The installation creates the grafana-server service in /usr/lib/systemd only if systemd is available. [1]
Basic information
- Deploy date: 11th February, 2019
- Official Website: https://grafana.com
- License: Apache License 2.0
Installation
Download the Official RPM:
$ wget https://dl.grafana.com/oss/release/grafana-5.4.3-1.x86_64.rpm.
Install the downloaded RPM:
$ yum install grafana-5.4.3-1.x86_64.rpm
Configuration
HTTP Configuration
Instead of running Grafana Server directly in the port 80, it can be provided through port 80 or 443 using a Web server or a reverse proxy.
The procedure to configure it with apache is:
- Define the Location configuration that will stablish a reverse proxy to redirect HTTP requests from
port 80 to local port 3000 (default port for Grafana) in a valid configuration directory
(i.e
/etc/httpd/conf.d/grafana.conf)
<Location "/grafana">
  ProxyPreserveHost On
  ProxyPass http://10.10.10.10:3000
  ProxyPassReverse http://10.10.10.10:3000
</Location>
Enable Apache to redirect Grafana App port
$ setsebool -P httpd_can_network_connect 1Enable Grafana Service to start in boot time
$ systemctl enable grafana-server
Troubleshooting
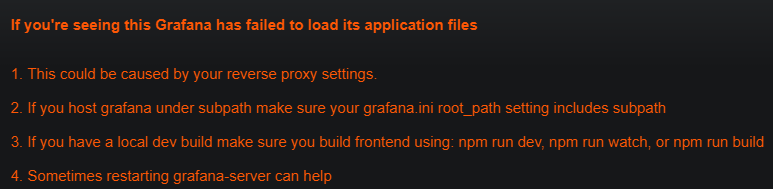
If you’re seeing this Grafana has failed to load its application files
PROBLEM 2: Using a web server (i.e Apache) to provide the grafana web interface through a public IP
generates an incorrect redirection with the default values present in grafana.ini.
SOLUTION: Edit the variable root_url in /etc/grafana/grafana.ini as follows:
root_url = %(protocol)s://%(domain)s:%(http_port)s/grafana
Restart grafana-server to refresh the configuration:
$ systemctl grafana-server restart
Basic Authentication Failed
PROBLEM: The Login process fails in Grafana Webpage displaying the following JSON:
{"message":"Basic auth failed"}
SOLUTION: Disable Basic Authentication in /etc/grafana/grafana.ini:
[auth.basic]
enabled = false
Restart grafana-server to refresh the configuration:
$ systemctl grafana-server restart
Cannot Bind to Port
PROBLEM: The variable http_port is set with a reserved port (lower than 1024) but grafana-server cannot start correctly.
Warning
It’s not recommended to run Grafana in a reserved port. Instead use a Reverse Proxy or a web server (Apache, Nginx).
SOLUTION: Grafana Server is a service that runs as grafana user, it’s neccesary to add it the linux capability to bind to reserved ports running with a non-root user.
Starting with kernel 2.2, Linux divides the privileges traditionally associated with superuser into distinct units, known as capabilities, which can be independently enabled and disabled. Capabilities are a per-thread attribute. [2]
Execute:
$ setcap 'cap_net_bind_service=+ep' /usr/sbin/grafana-server
Authors
- Andrés Felipe Zapata Palacio <azapat47@eafit.edu.co>
References
| [1] | Grafana Labs. (n.d.). Installing on RPM-based Linux. Retrieved June 20, 2019, from http://docs.grafana.org/installation/rpm/ |
| [2] | Kerrisk, M. (2019, May 11). Capabilities Manual. Retrieved June 20, 2019, from http://man7.org/linux/man-pages/man7/capabilities.7.html |